
Fine line sakura fills feeds right now, and the pieces that still look crisp in photos years later are rarely the ones that looked the most delicate fresh. Placement, spacing, and line weight matter more than the initial swoon. Read these 17 cherry blossom tattoo ideas with practical notes on aging, what to ask your artist, and simple wardrobe choices to help each design read the way you want it for longer.
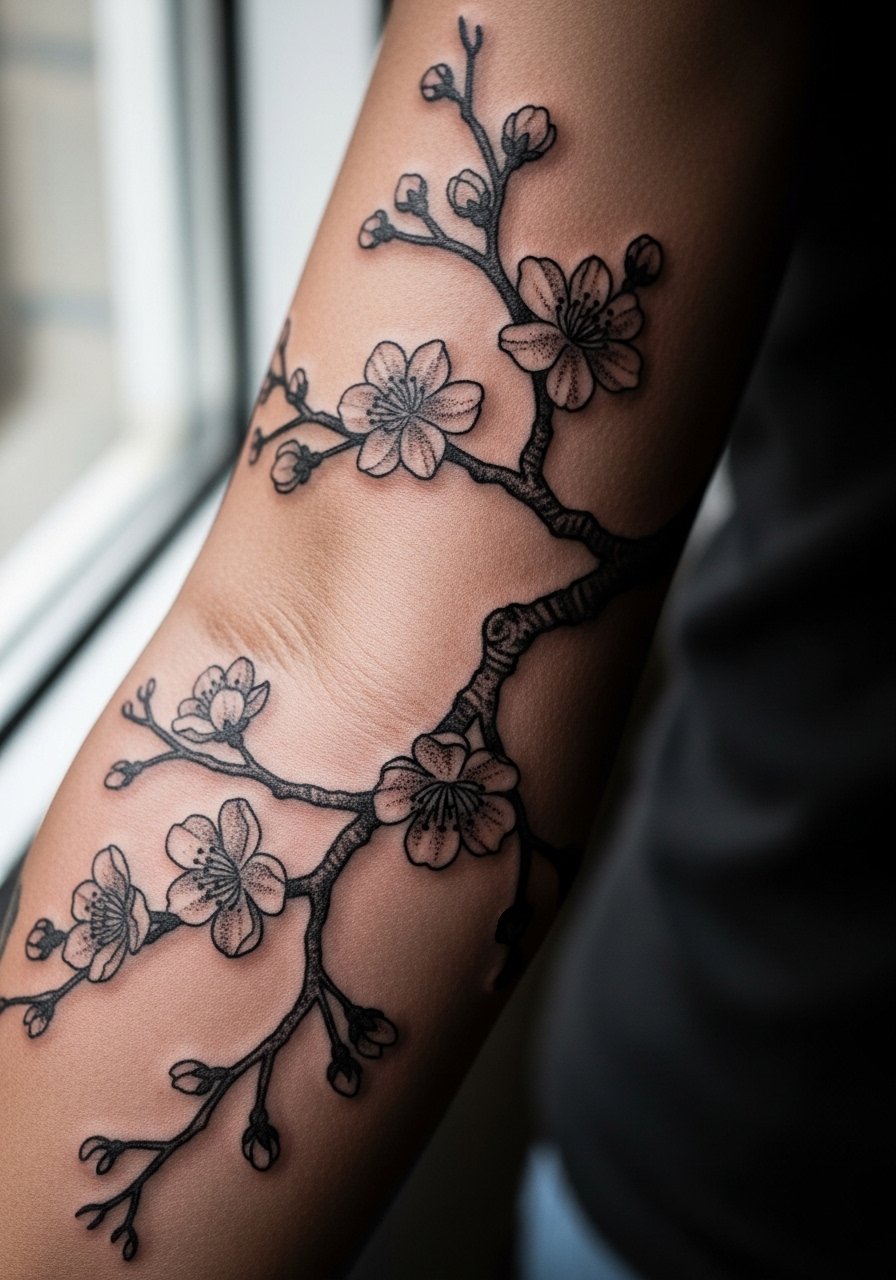
1. Fine Line Branch on Inner Forearm
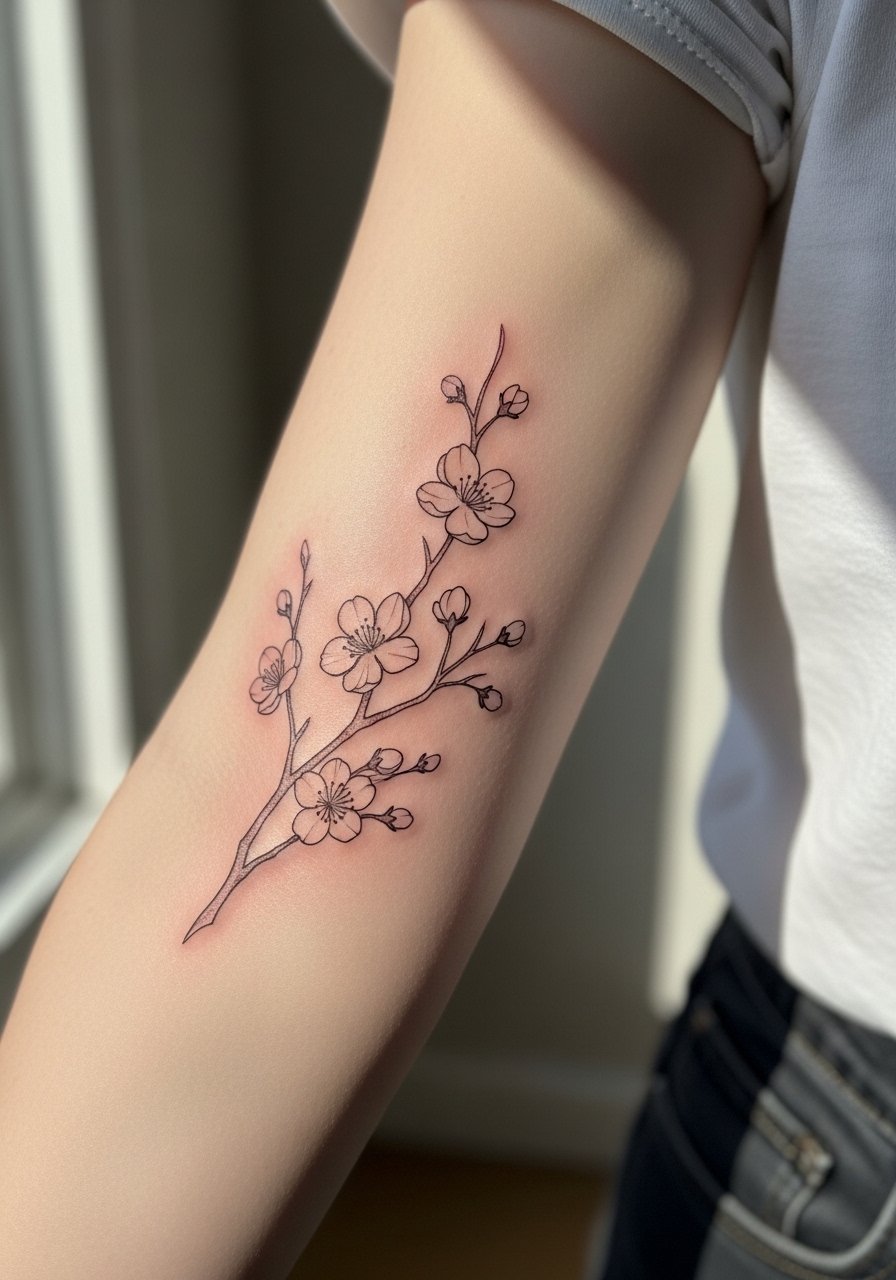
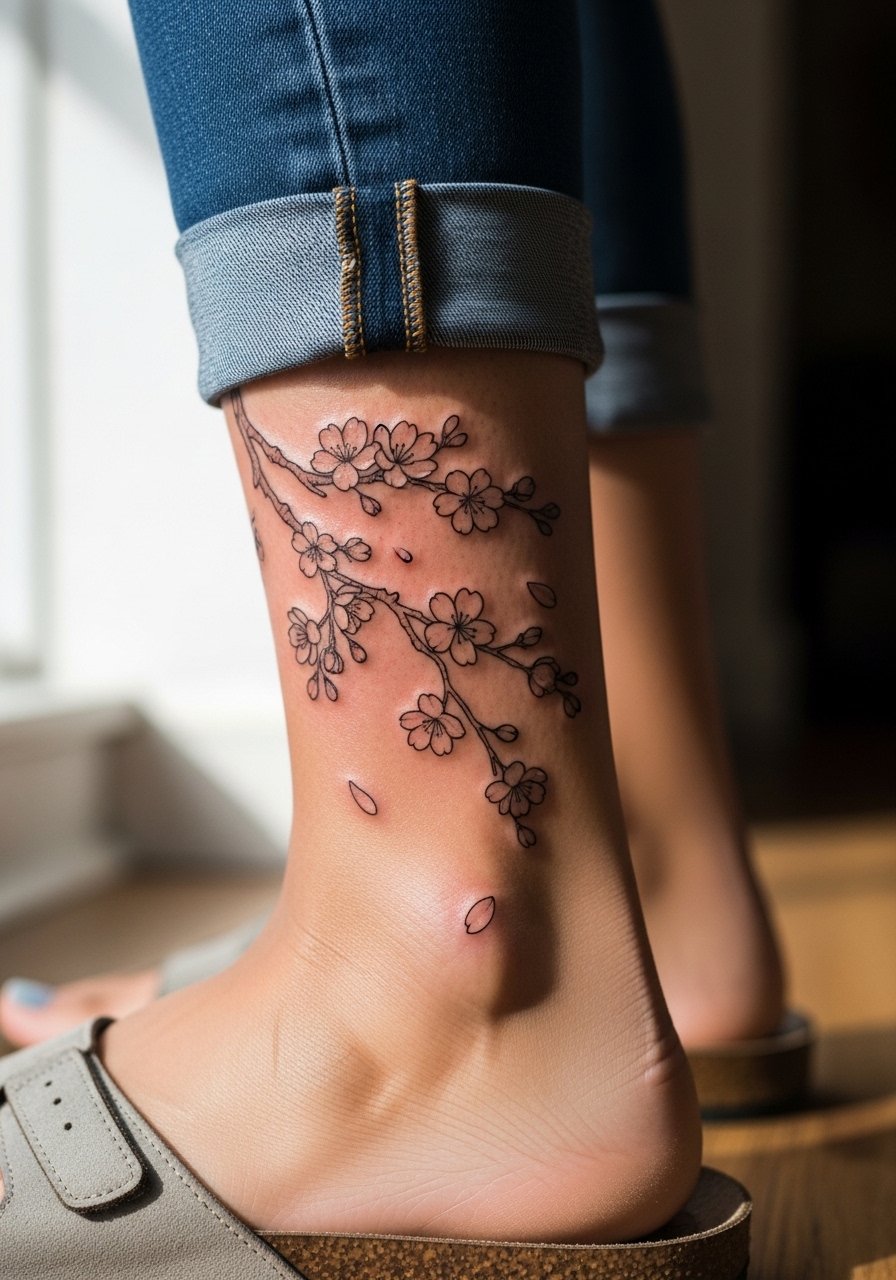
I've seen this one age in two main ways. When artists keep the branch too thin and the petals tiny the piece often softens into a blur after 12–24 months. The stronger approach is slightly heavier linework with open spacing between petals so the design has room to settle. Tell your artist you want 1.5 to 2 mm line weight on the main branch and airy petal spacing. Pain is mild, session time usually under an hour, and touch-ups are common at year two for fine line work. For showing it off, pair with a linen rolled cuff blouse that pushes sleeves back and keeps the arm silhouette clean.
2. Watercolor Spine Cascade
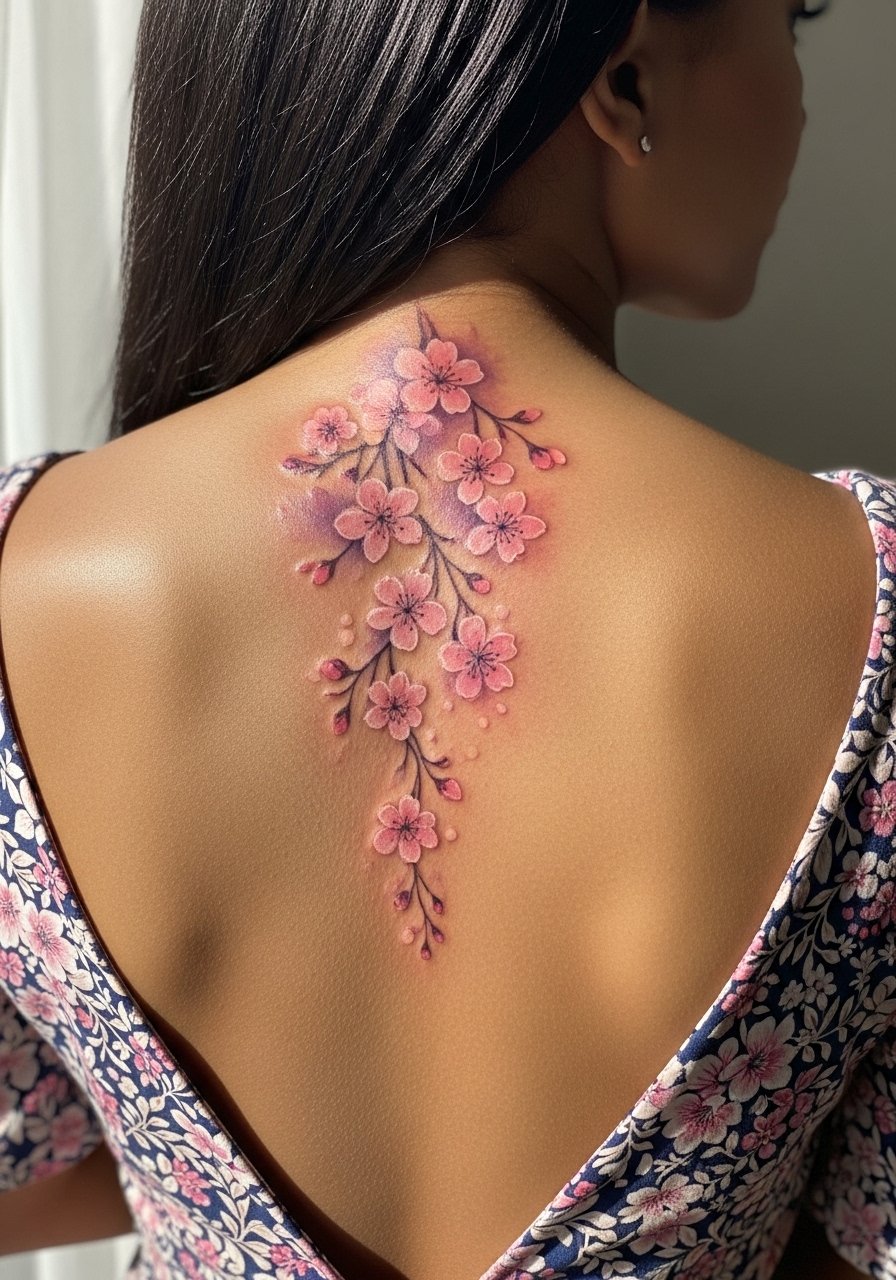
Fair warning, full-spine watercolor asks for patience. Expect multiple sessions and a longer healing window because of size and movement on the back. Most designs with strong vertical flow show well under low-back tops and sundresses, and the session day is easier if you wear a low back dress or a strapless bra so the artist has clear access. Artists debate watercolor longevity for large pieces, with one camp saying bright washes fade into a muted haze, and the other arguing that heavy saturation and layered glazing preserve the effect. Get a clear touch-up plan before you book and consider subtle black anchors around key blooms so the shape reads from a distance.
3. Neo-Traditional Cherry Wreath on Shoulder
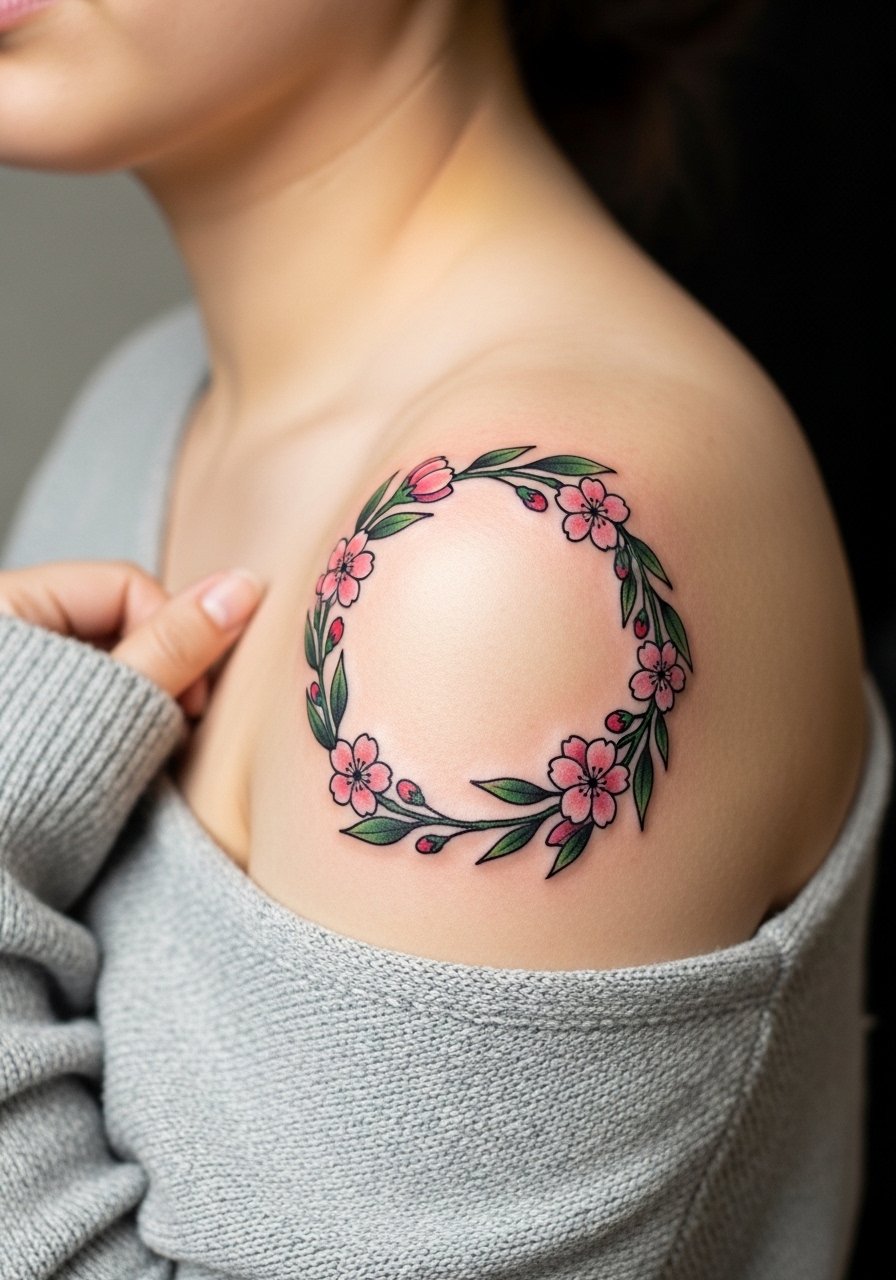
This circular wreath works great as a compact statement that still breathes. In consultation mention you want defined black outlines around each blossom so the piece holds saturation longer than watercolor fill alone. For session day wear an off shoulder sweater or a sleeveless tank you can slide aside easily. The shoulder has low blowout risk but watch for sleeves rubbing during the first week. At six months the petals should still read crisp if outlines are present, and touch-ups are rare unless you want color refresh.
4. Sternum Branching Illustrative Piece
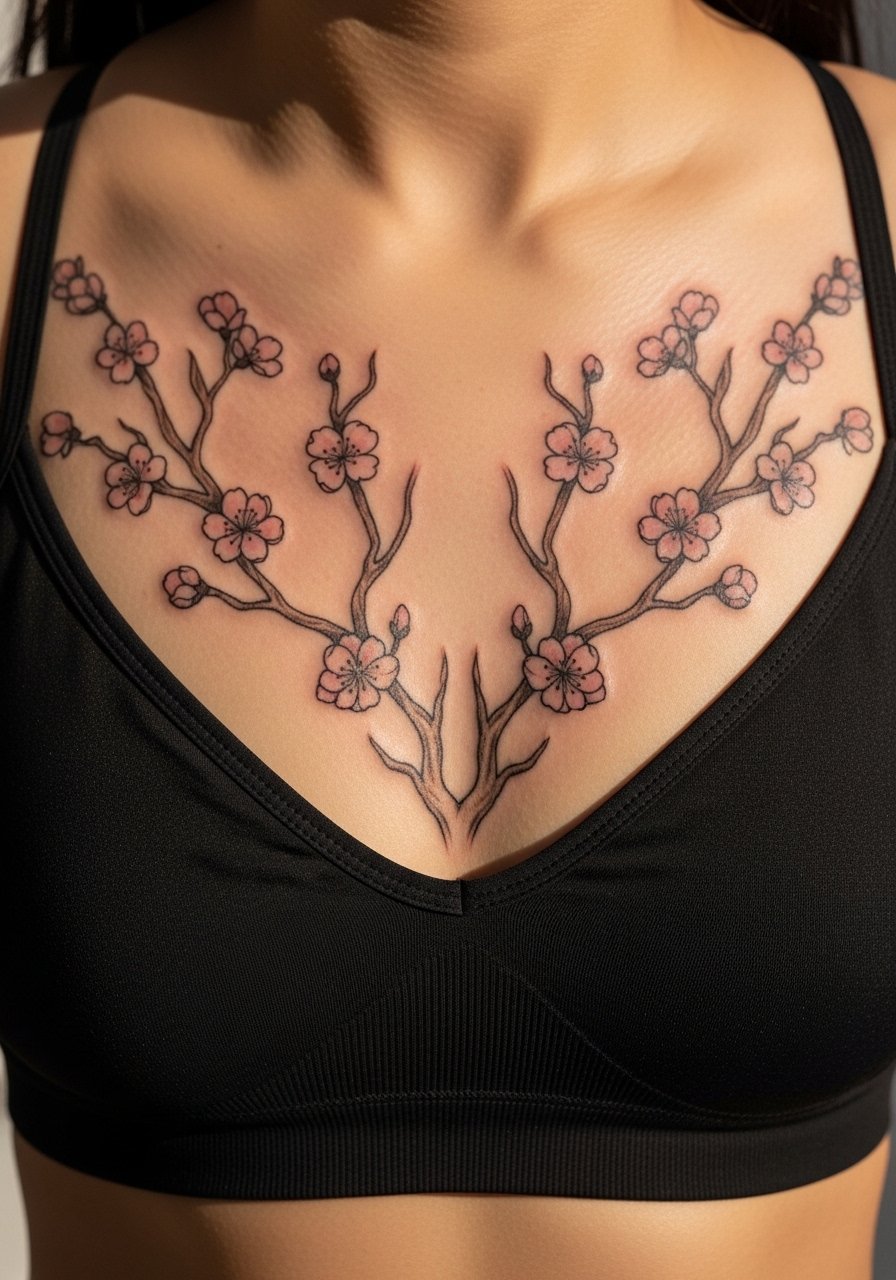
Fair warning: sternum placements hurt more than a forearm because of proximity to bone and thin tissue. The result frames low-cut tops beautifully but needs careful needle depth because chest skin moves with breathing. Ask for slightly wider petal spacing and shaded centers so the piece keeps structure as it heals. Session time is often 60 to 120 minutes depending on coverage. For professional considerations check how visible the piece will be under your wardrobe. Some people prefer a touch-up at year one to keep the center saturation even.
5. Painterly Belly Blossom
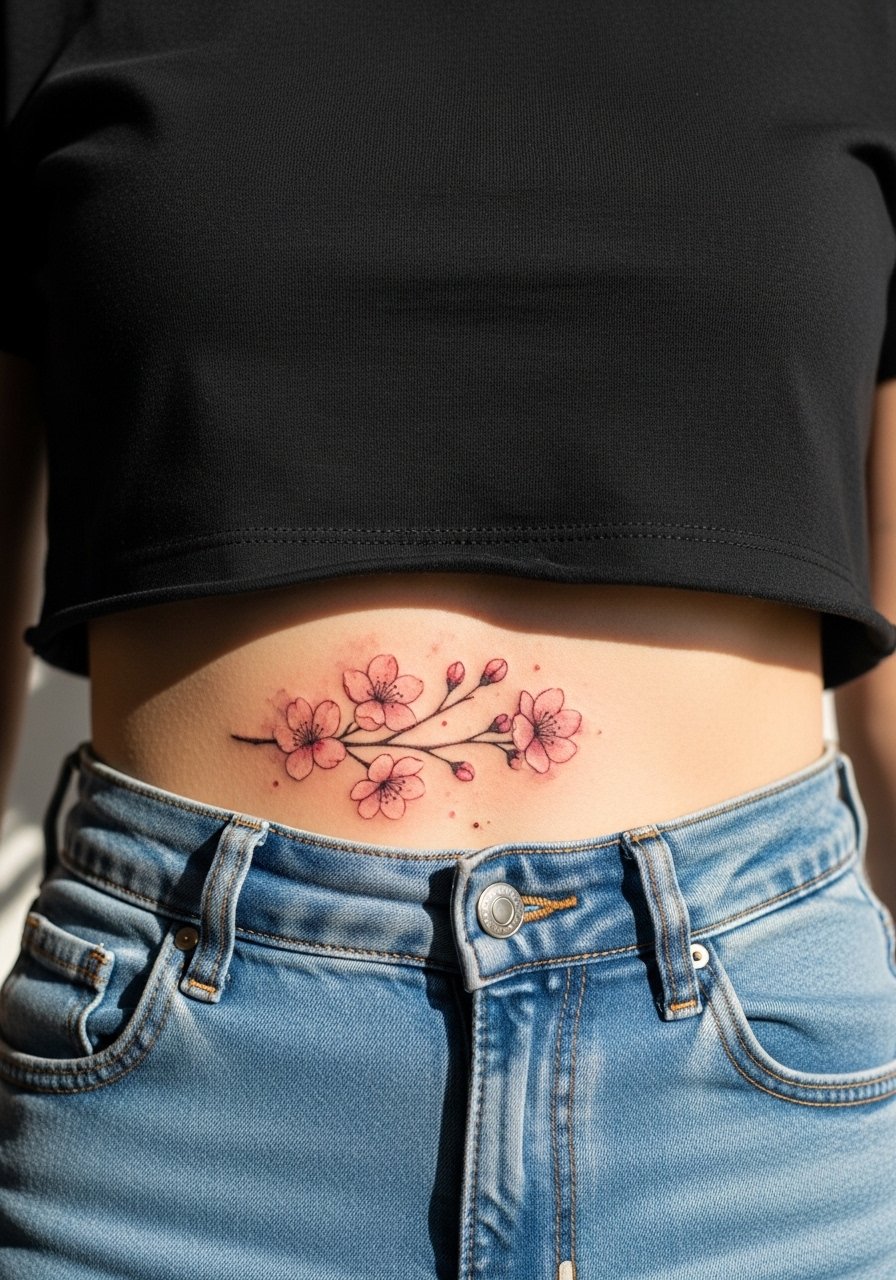
The lower abdomen is an ideal canvas for painterly, curving compositions that follow natural curves. Expect two shorter sessions rather than one marathon to allow the skin to settle. A common mistake is compressing the composition too small, which makes the watercolor look crowded as the body moves. If you plan on significant weight change discuss placement higher on the flank where the skin is more stable. Session wear should be high-waisted bottoms so the artist can access the exact strip of skin without exposing more than needed.
6. Irezumi-Style Back Cherry Blossom with Koi
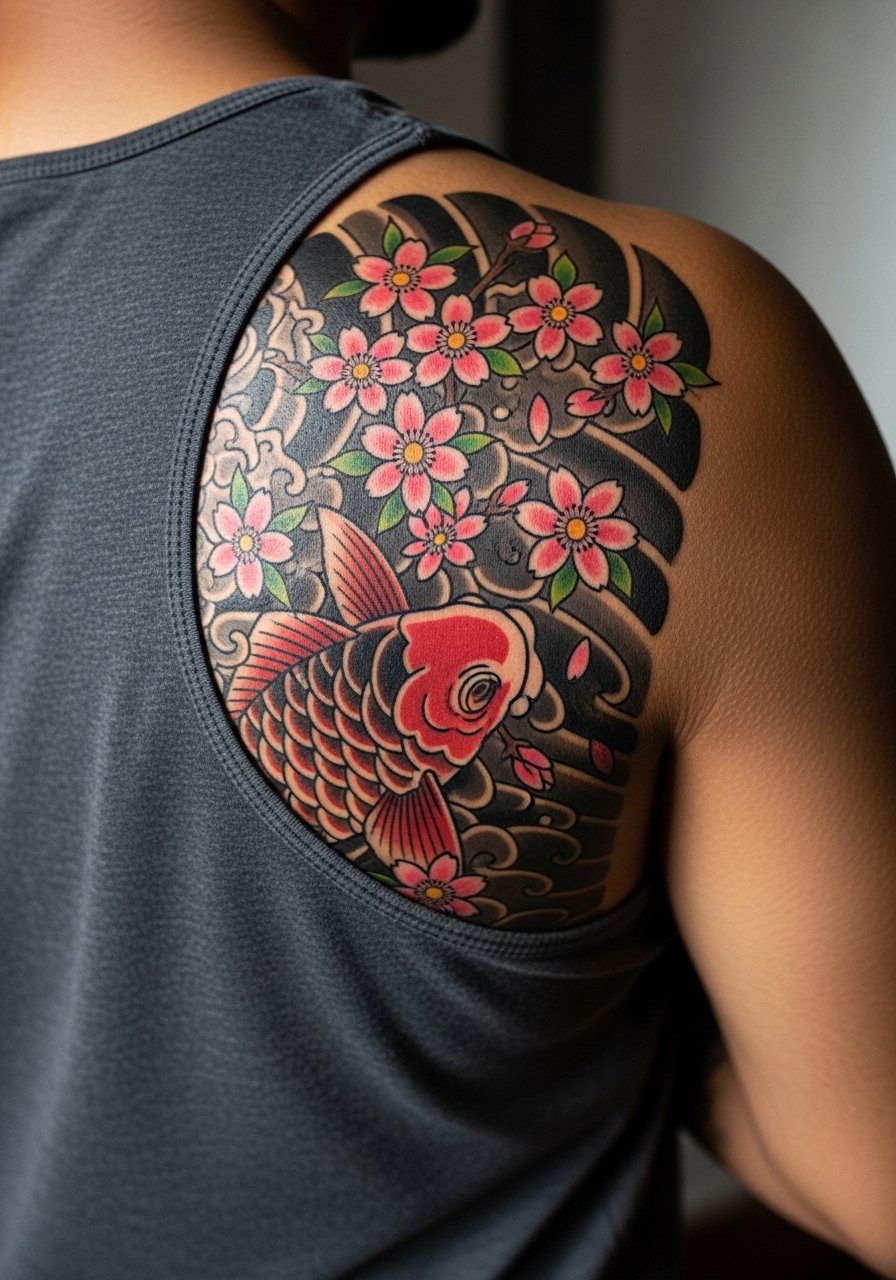
There's a reason large back pieces in this style become long-term favorites. The scale allows for strong black outlines and saturation that age into rich texture rather than an indistinct wash. Be explicit about wanting classic Irezumi spacing and negative space around the koi so the blossoms don't vanish into the fish scales later. Expect multiple sessions spread over months and follow-up touch-ups as the layers settle. For session logistics wear a removable tank or button-front shirt so the artist can work without straps in the way.
Studio Day Picks
The small and chest-facing sessions above ask for specific prep and gentle healing products to protect linework and color during the first week.
-
Tea tree tattoo balm. Lightweight and less greasy than petroleum options, it helps manage itch without suffocating the skin for ankle and foot pieces that see rubbing from sandals.
-
Lanolin-free healing salve. Recommended for winter or dry-skin sessions where pore-clogging products make scabs worse, especially helpful for sternum and rib work.
-
Rice bran oil serum for color retention. Thin, fast-absorbing, and useful for maintaining pink tones on medium tones during the first three months.
-
Centella-derived soothing cream. Gentle for sensitive areas and reduces prolonged redness on belly and chest placements.
-
Aquaphor healing ointment. Useful in the first 48 hours to keep fine line forearm and wrist pieces from drying too hard while you sleep.
7. Neo-Traditional Forearm with Dragon Accent
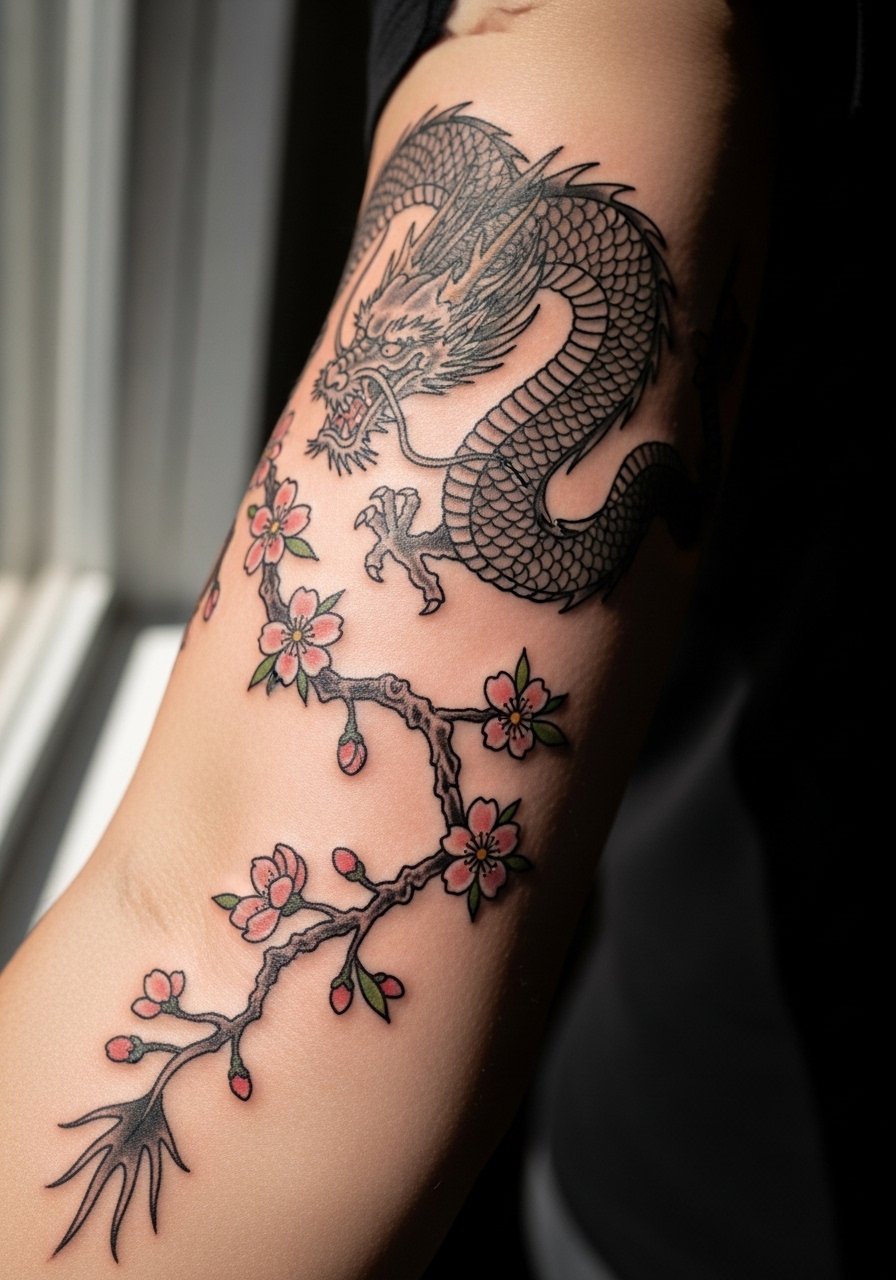
This mix of floral and power motifs reads bold in photos and holds up because of thicker linework around focal elements. When you bring reference, point out which part should carry the strongest blackwork so the blossoms stay legible around the dragon. Sessions are medium length and pain is mild on fleshy forearm zones. For daytime styling try rolled sleeves and a sage green button up so the branch follows the shirt line and looks intentional.
8. Ribcage Sakura Cluster
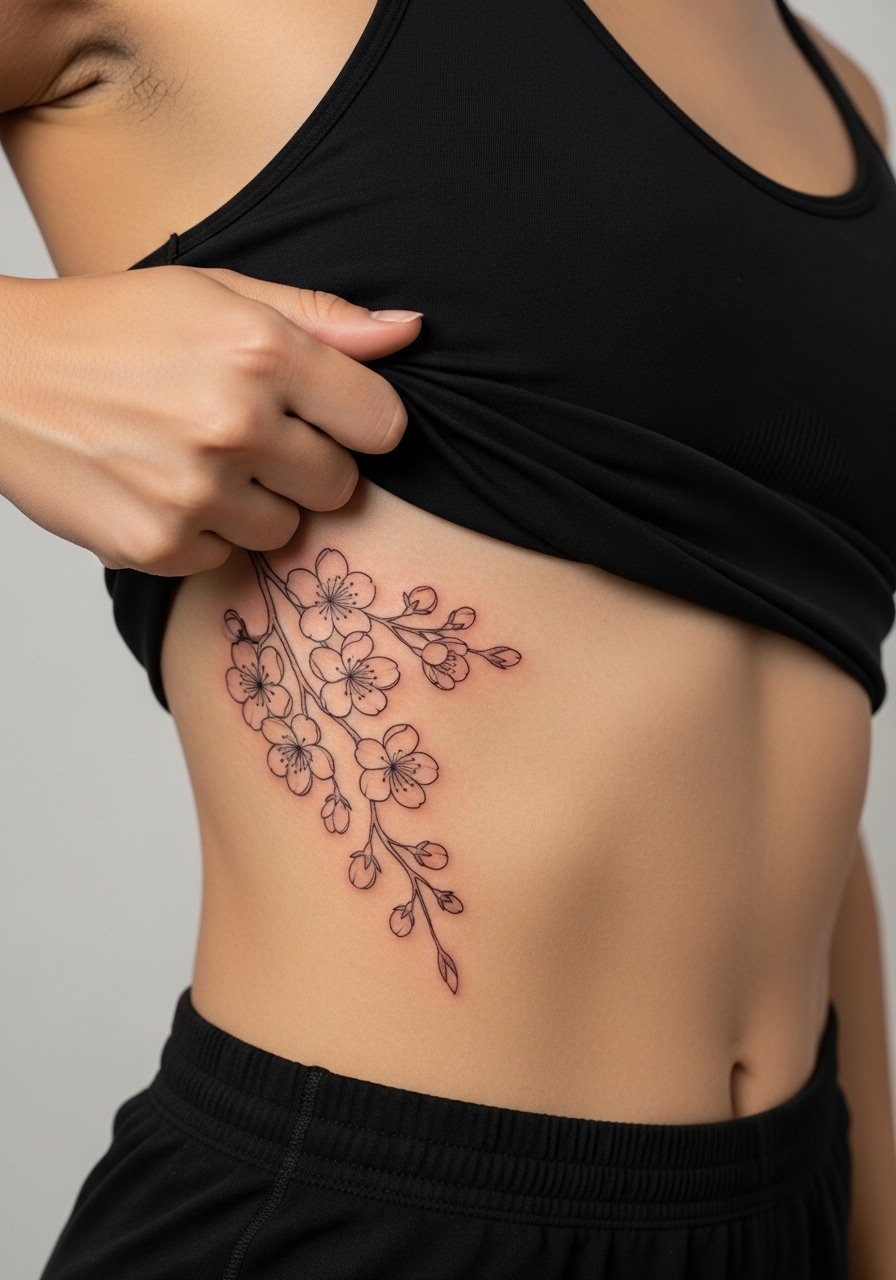
Fair warning, ribs are commonly rated 7 out of 10 on pain scales. The payoff is dramatic negative-space framing along the torso. Artists disagree on fine line here with two camps. One camp says rib skin movement and thin tissue blur fine-line work within two years. The other camp argues that with careful depth and spacing fine line can settle well. Ask your artist where they stand and whether they prefer a slightly bolder contour for longevity. Expect 1 to 2 sessions and plan loose, breathable clothing for healing.
9. Foot Petals That Peek from Sandals
Top-of-foot tattoos are charming but live in friction zones that can fade faster. Keep the composition small and spaced so individual petals remain readable after regular shoe wear. One session usually suffices, but expect a touch-up within a year if you wear tight shoes often. For showing this off in summer pair with strappy sandals and cropped jeans to keep the tattoo visible without constant rubbing.
10. Outer Thigh Branch That Follows Curves
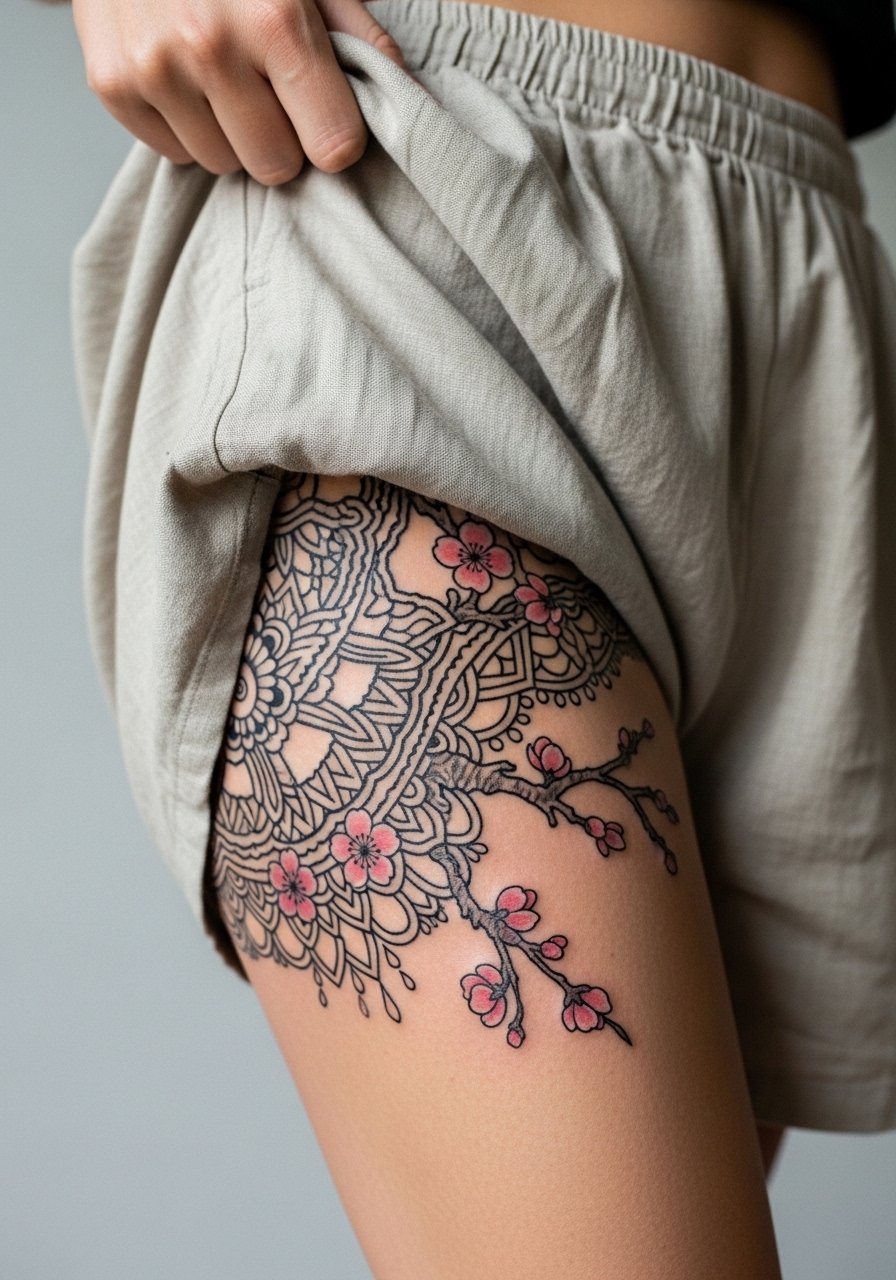
The outer thigh is forgiving for larger scale work because the skin stretches less than the inner thigh. For curvier bodies place the branch to follow muscle lines so the composition flows naturally with movement. A common mistake is running the branch too close to the hip crease where tight clothing compresses healing skin. For session comfort wear loose linen shorts so the artist can roll the leg up without pressure on the area. Expect moderate pain and a two-session workflow for mid-sized pieces.
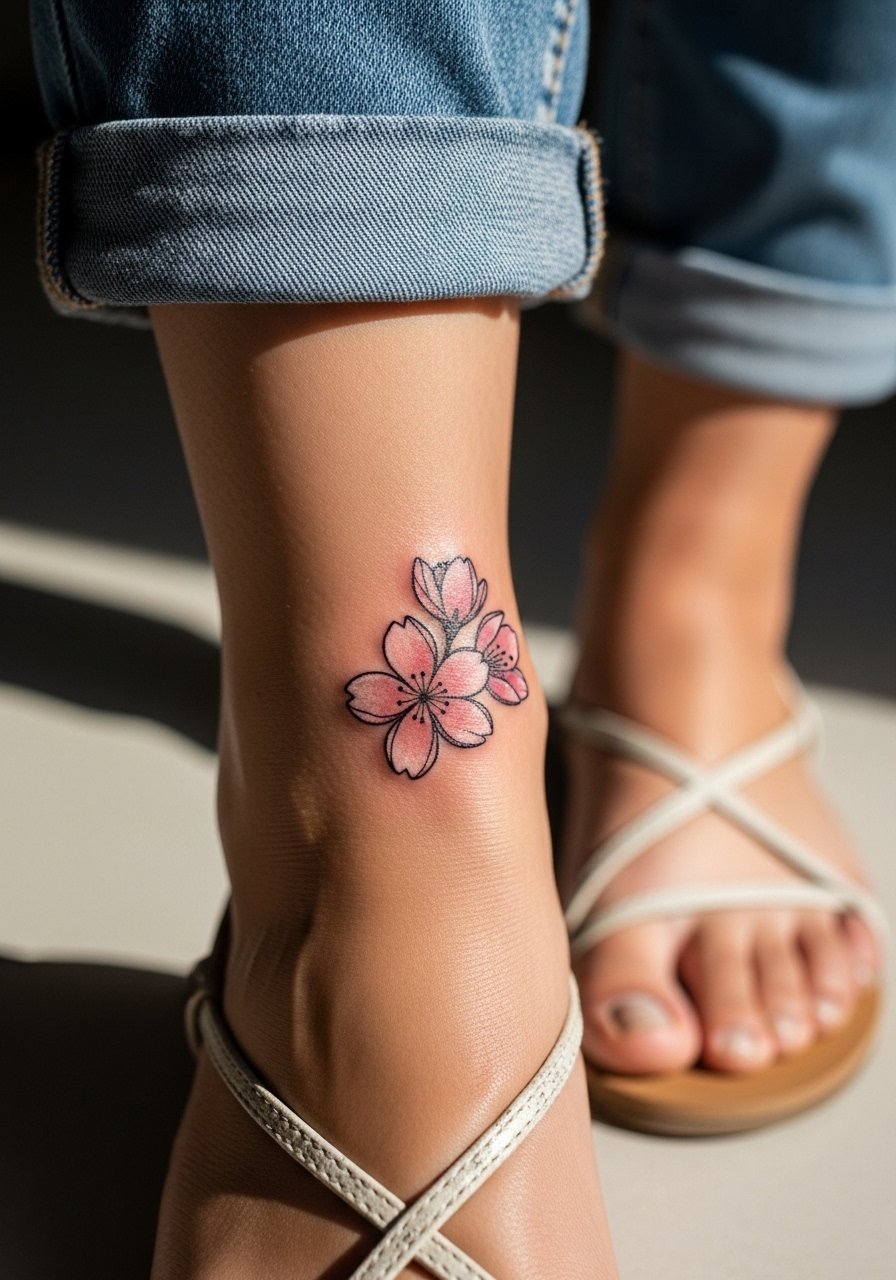
11. Ankle Blossom with Sandal-Ready Splay
Ankle work needs attention to placement because skin here sees regular rubbing and shoes press against the area. Keep elements small and spaced with a touch of black grounding so petals do not merge. For the session wear rolled cuff jeans and easy sandals so you can move without rewrapping. The pain is low to moderate and touch-ups after six to twelve months are common for tiny ankle details.
12. Micro Blossoms Paired with Japanese Script
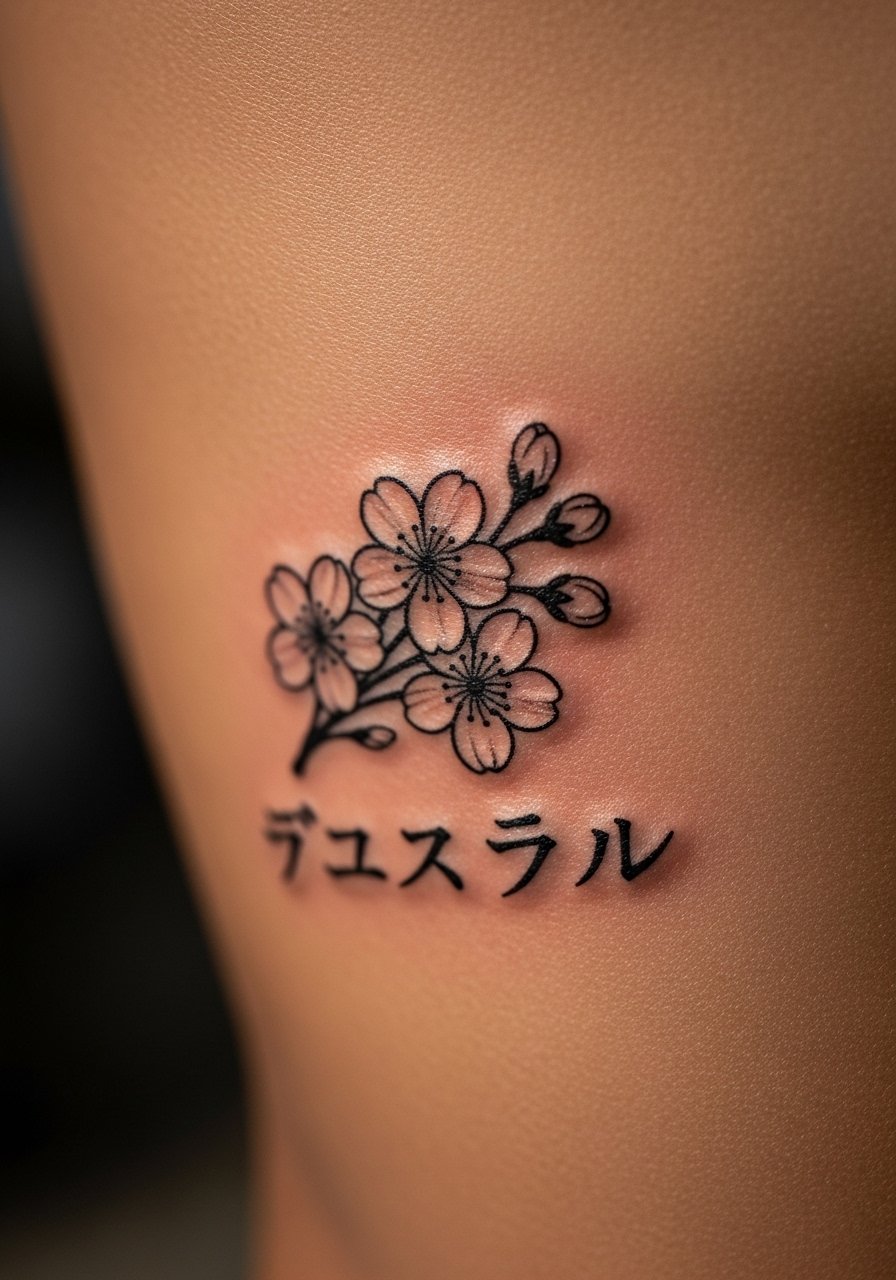
Pairing micro blossoms with a short script adds narrative without overwhelming form. Tell your artist the exact font and spacing you want because lettering size and petal details compete visually. If the script sits on thinner skin like the ribs keep letterforms larger than you think to avoid blurring. This placement is intimate and the session can sting. Consider asking your artist about numbing options and a clear touch-up plan for both text and flowers.
13. Black-and-Gray Sakura That Pops on Dark Skin
From what I've seen, pink washes can struggle to read on darker tones in photography. A strong black-and-gray approach with stipple shading and selective highlights preserves petal texture while keeping the sakura vibe. Ask the artist to test contrast with healed portfolio photos on similar skin tones. This variation ages very well because saturation relies on black anchors rather than pastel pigments. Session time can be similar to mid-sized color pieces but with fewer long-term fading issues.
14. Spine-to-Hip Wrap for Full-Body Flow
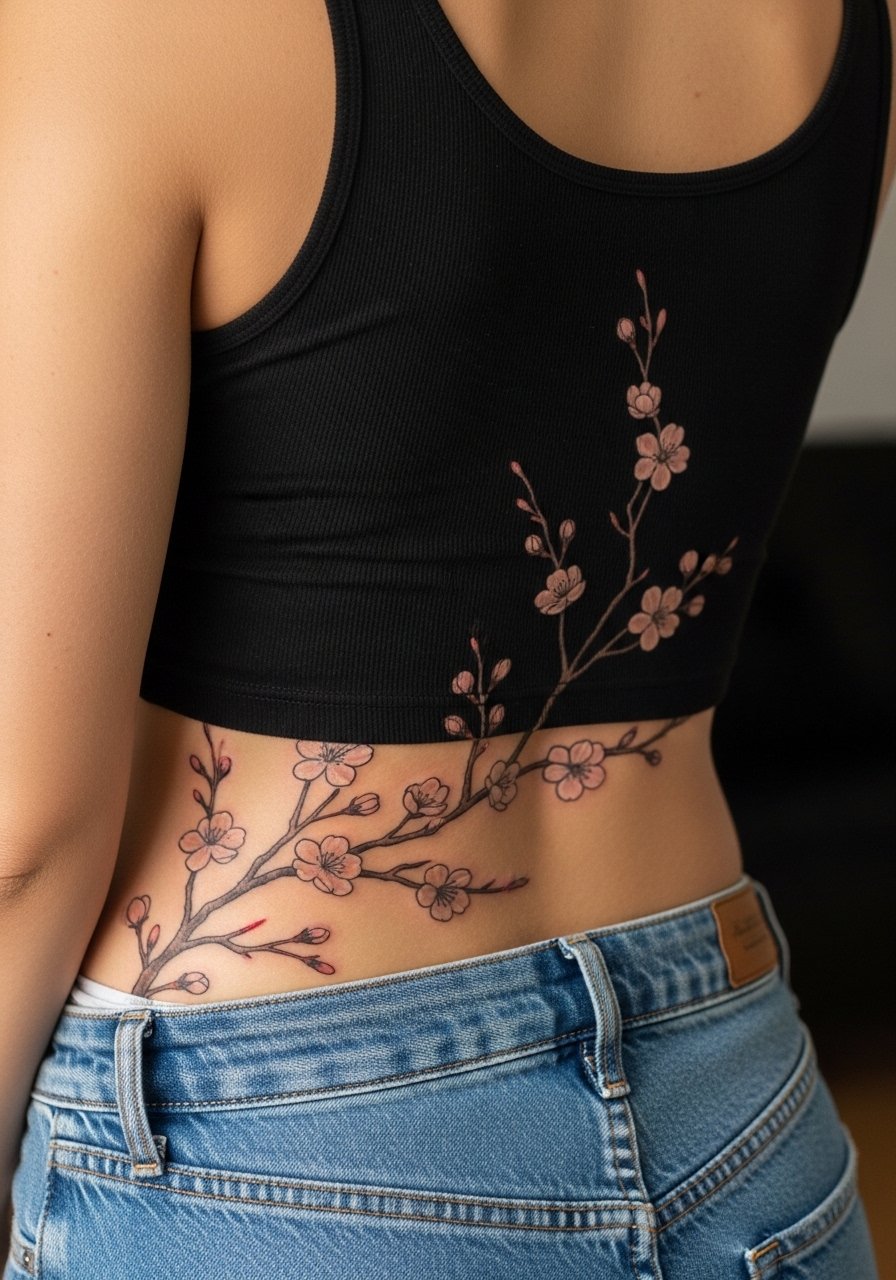
This wrap creates a narrative line that reads across silhouettes and pairs well with swimwear or high-waisted skirts. Expect multiple sessions because the piece crosses areas of varying skin tension. A common mistake is stopping the branch too high so the lower portion looks tacked on. Plan the full curve with your artist so each session builds seamlessly. For showing off, open-back or low-rise pieces reveal the flow naturally.
15. Single Petal Wrist Accent
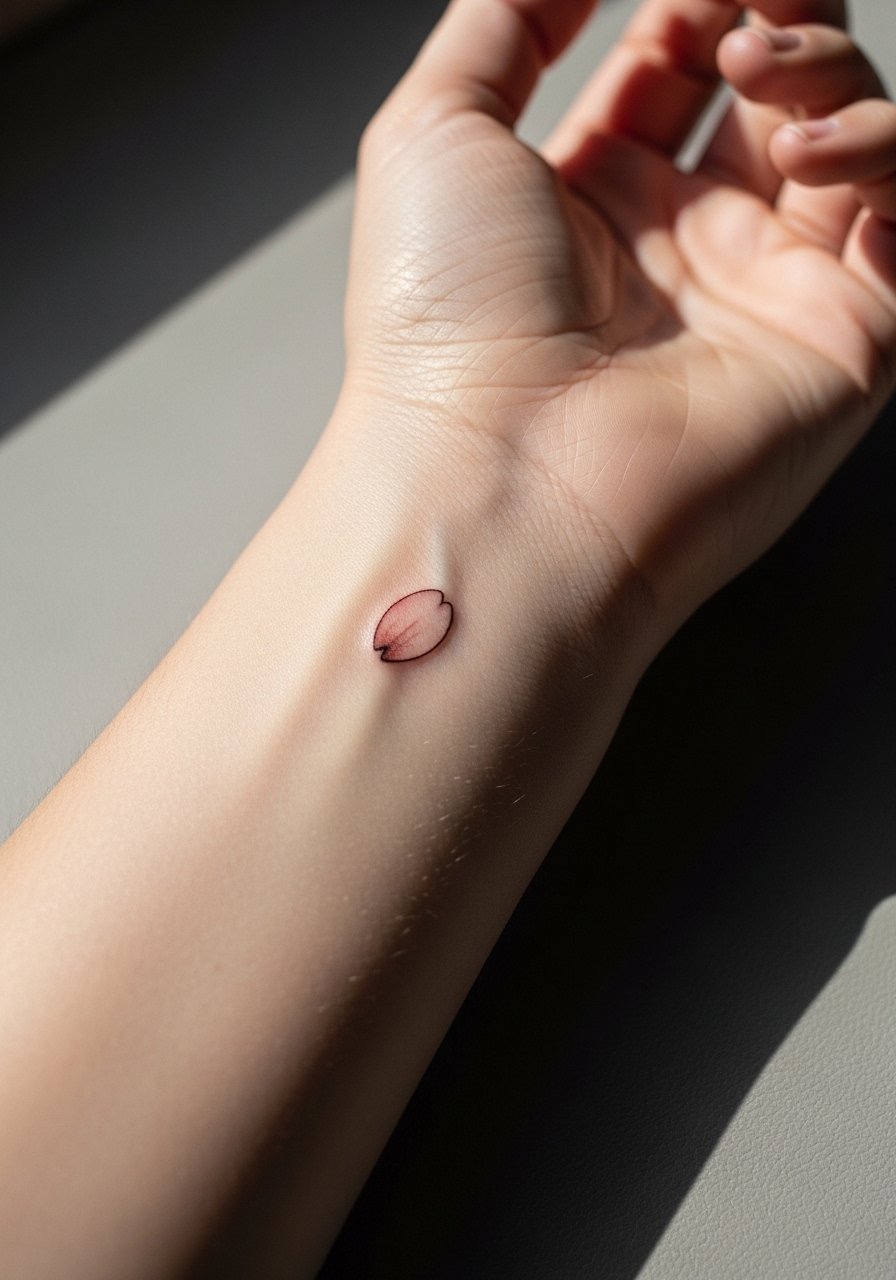
Wrist placements are highly visible and show early wear if lines are too fine. I've noticed small wrist florals blur quickest when needle work is ultra-thin. Ask for a slightly bolder anchor line and soft shading in the petal center. Session time is brief and pain is low to moderate. For accessories, a dainty gold bangle stack on the opposite wrist keeps attention balanced while avoiding rubbing the fresh ink.
16. Collarbone Sprig That Frames V-Necks
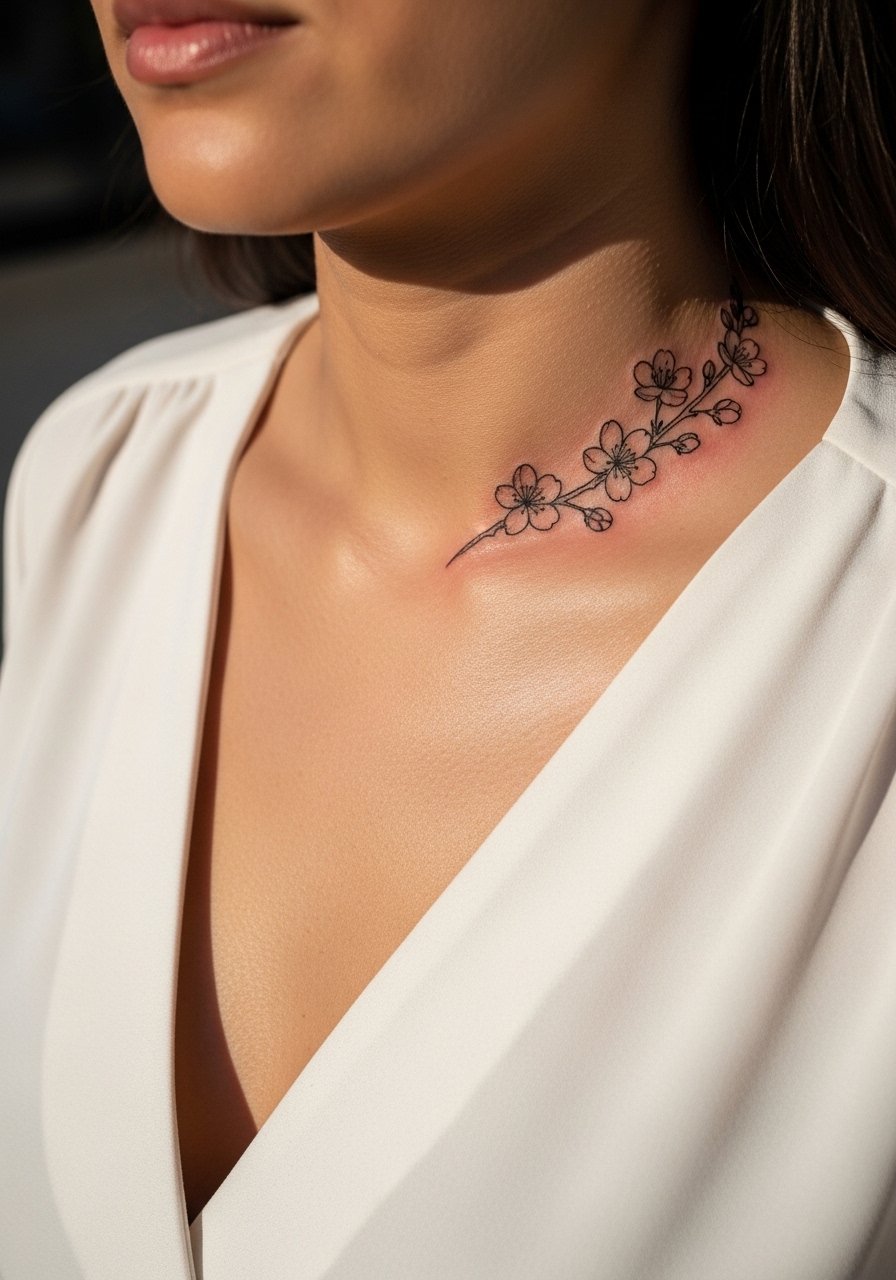
This placement is subtle but shows under V-necks and scoop tops. The collarbone has thinner skin and a bit more pain, so expect brief sharp bursts during the session. Ask your artist to keep the sprig angled along the bone so garments naturally frame it. For evenings out a deep v neck blouse highlights the piece without overexposing it. Light touch-ups at year one can keep edges crisp.
17. Petite Ear-to-Neck Blossom Cluster
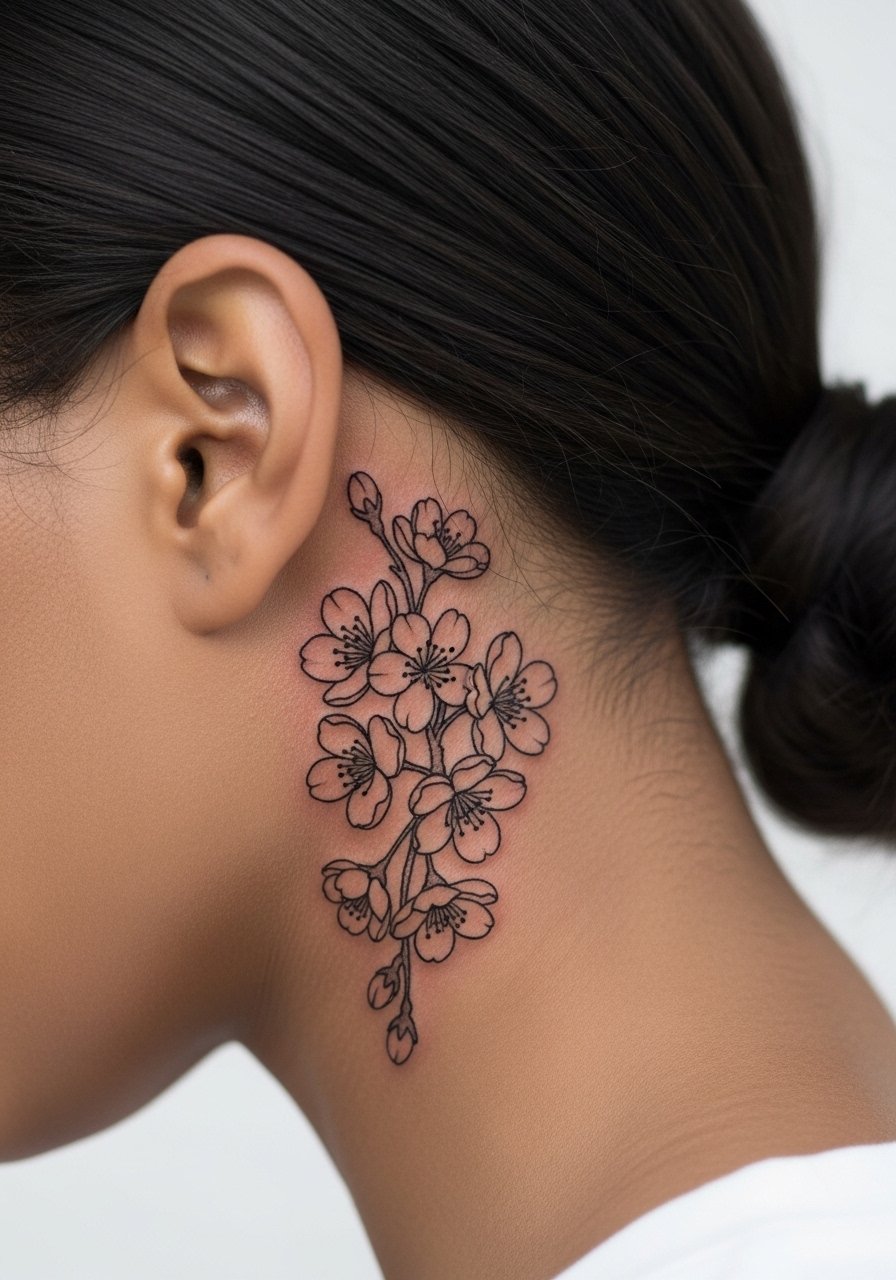
Behind-the-ear placements read small and intimate. Keep elements tiny and use spacing so each petal is a distinct shape once healed. This area heals quickly but shows scabbing more visibly because of hair contact. When you consult, ask about aftercare steps to keep hair oils away for the first week. The result pairs well with short hair or a tucked style so the tattoo peeks naturally without full exposure. Consider a subtle touch-up if edges soften after months of styling and hair products.
Frequently Asked Questions
Q: How long will a fine line forearm cherry blossom need a touch-up?
A: From what I have seen, fine line forearm pieces commonly need a touch-up around year one to three depending on sun exposure and how often the area rubs. If you want lower maintenance ask for slightly heavier branch lines and open petal spacing so the piece keeps definition longer.
Q: Does watercolor on the spine fade faster than black outlines?
A: Watercolor washes can fade faster because they rely on subtle pigments rather than black anchors. The fix is layered glazing during sessions and anchoring the composition with small black elements so the silhouette remains readable as color softens.
Q: Should I plan differently for a ribcage sakura versus an outer thigh piece?
A: Yes. Ribs move with breathing and score higher on pain scales so short sessions and breaks work better. Outer thigh is fleshier and tolerates longer sessions and denser detail. For ribs ask about topical numbing options and for thigh wear loose shorts to the appointment.
Q: How do I make cherry blossom colors read on darker skin?
A: Many people opt for black-and-gray or a black base with selective color pops to retain petal texture. Ask to see healed examples on similar skin tones and consider stipple shading to preserve contrast without relying on pastel pink alone.
Q: Can my wardrobe choices affect how a new collarbone or sternum tattoo heals or looks?
A: Absolutely. Tight straps or abrasive fabrics can rub healing skin and cause scab loss. For a collarbone piece wear loose V-necks for show-offs and choose button-front shirts for session days so the artist has clean access without pulling a garment over your head.
